How to Install a Motorized Patio Screen (Windproof Roller Blind)
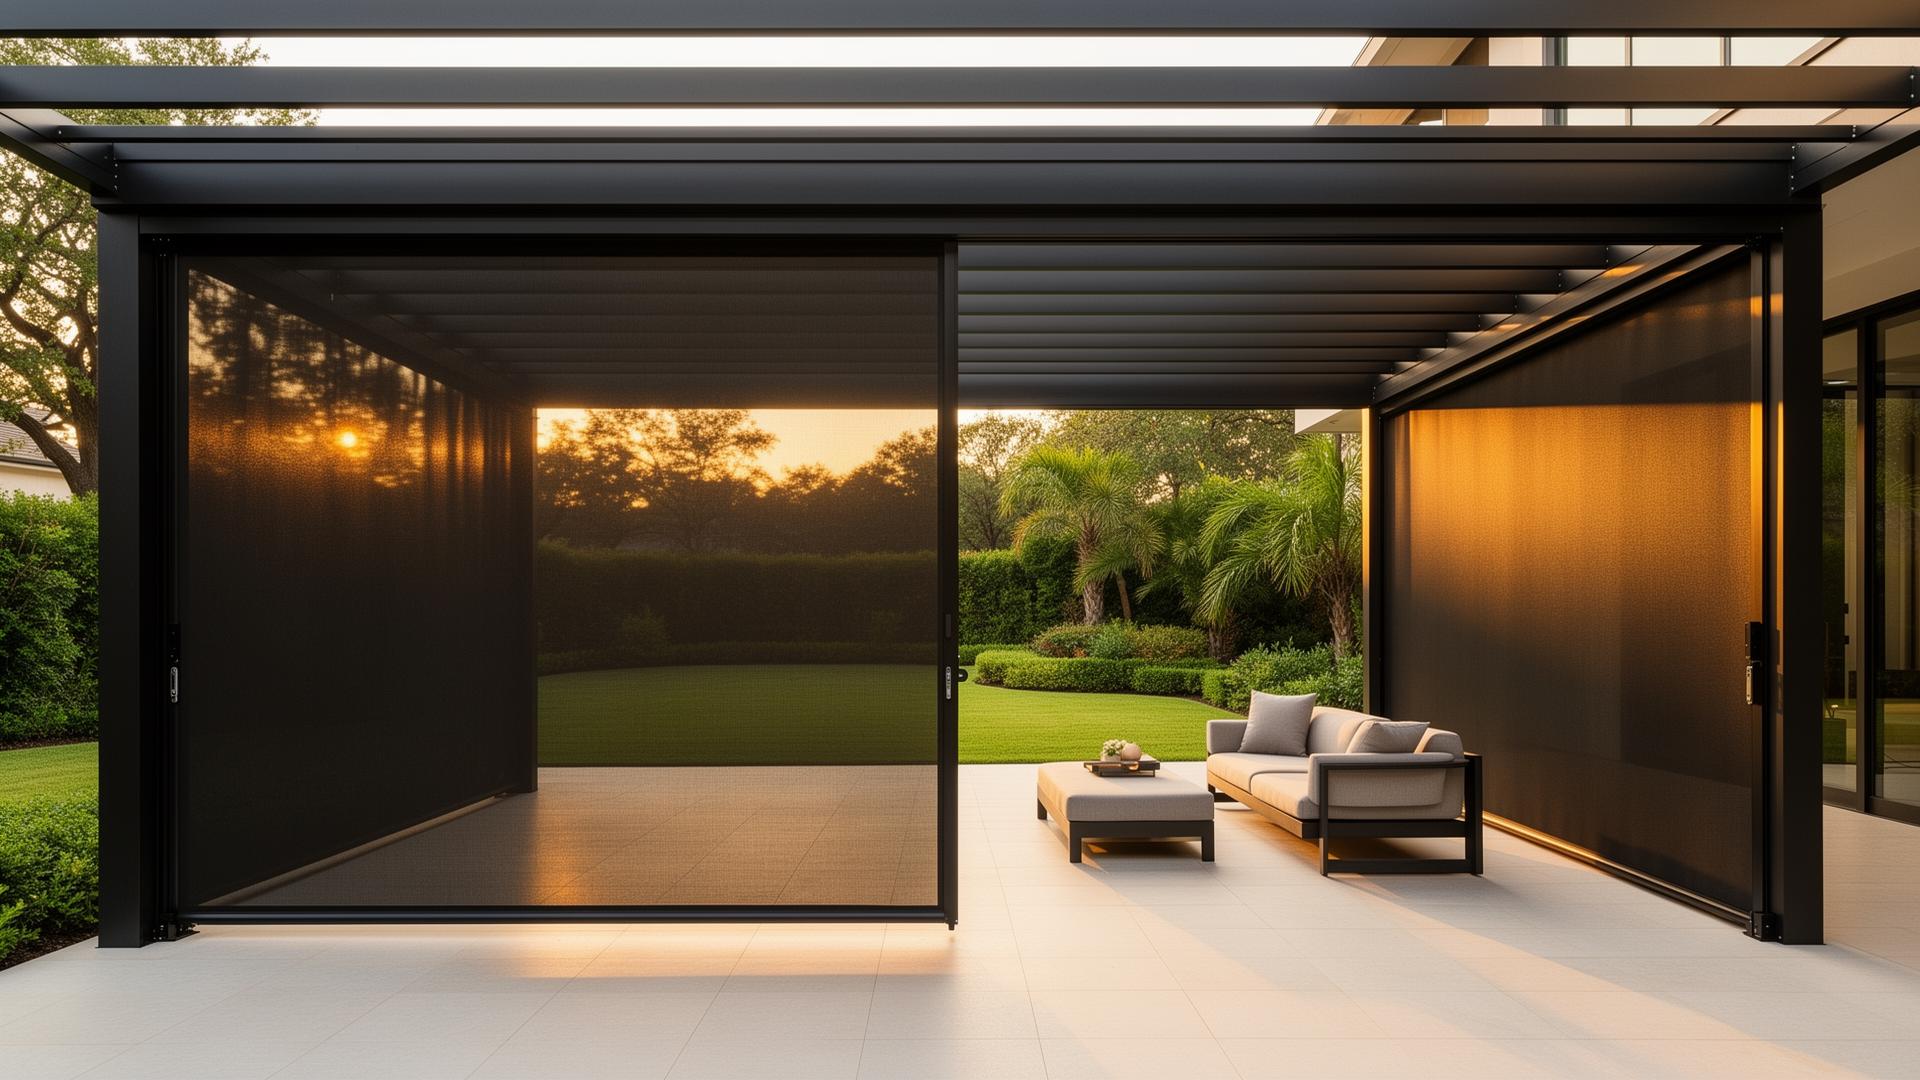
A motorized zip-track patio screen arrives as a three-part kit: a coverbox containing the motor and fabric roll, and two side tracks. Installation is a two-person job that rewards patience in one specific place — the measuring step. Get that right and the rest is assembly; get it wrong and the screen jams or the fabric hangs unevenly. This guide follows the manufacturer's installation sequence. The printed manual in your box is the authority — read it before you start, and have a qualified electrician handle the motor wiring per local code.
Tools you'll need
Gloves, helmet, tape measure, spirit level (a laser level makes step 4 much easier), electric drill, ladder, and a rubber mallet.
What's in the box
The coverbox (motor + fabric roll), two track assemblies, and side rail components: two lower side rails, two upper side rails, and two rubber sealing strips. Mounting hardware — six 5×45mm wall screws and six expansion anchors — may be self-provided depending on your wall type. Before starting, check every component against the parts list and inspect for shipping damage. Do not install a damaged part; contact your supplier first.
Step 1 — Disassemble the side rails
Each track assembly separates into its lower side rail, upper side rail, and rubber strip. You do not need to remove the side rail end covers.
Step 2 — Attach the lower rails to the coverbox
The two lower rails connect to the ends of the coverbox, forming a rigid three-sided frame. This is the unit you'll mount to the wall.
Step 3 — Measure the opening (the step that decides everything)
Measure the opening width at three heights — top, middle, bottom — they must be consistent. Then measure both diagonals: they must match within 5mm. With a level, confirm both sides of the opening are plumb and the rails will sit parallel. If anything is off, adjust the frame's position before drilling — never after. The manufacturer is specific about what happens if you skip this: a screen that sticks or won't move usually traces to left and right rails at different heights or a wall that's wider at the top than the bottom, and uneven, wavy fabric traces to diagonals that don't match.
Step 4 — Mount the frame
Decide between inside mounting (frame sits within the opening, anchored through the rail sides) and outside mounting (frame sits on the wall face around the opening, anchored through the rail face). Six anchor points — three per side — with the expansion anchors and 5×45mm screws driven into solid structure, not just cladding.
Step 5 — Fit the rubber sealing strips
Power the motor and release a little fabric first — it makes threading easier. Insert each strip notched-side-up into its track. As the strip approaches the upper zipper section, push slowly. The strips have small spring clips along their length: press them lightly as you go and seat them into the inner side of the track.
Step 6 — Install the upper rails
Align the top end first, set the rail into position, and tap it home gently with the rubber mallet. Confirm the box cover is seated as shown in the manual.
Step 7 — Final checks and power test
Verify the rubber strip clips are seated correctly along both tracks, confirm the side rail covers are in place, then run the screen fully down and up.
Pairing the remote
Open the cover on the back of the remote to find the two P2 buttons. Plug in the power supply; after the first long beep, press the left P2 button. When you hear the long beep again, press P2 once more, then press the UP button once — pairing is complete. The motor jogs briefly each time P2 registers. To add a second remote, repeat the same sequence.
Troubleshooting and care
If the motor makes no click when powered on or off, the motor itself may be at fault. The motor has thermal protection: after about five minutes of continuous running it can overheat and stop — cut power for roughly 40 minutes and it resets automatically. If the unit loosens over time, check the mounting screws; if it gets noisy, clear debris from the side rails.
Using it safely
Retract the screen fully in severe weather — high winds can damage a deployed screen. Keep the travel path clear of furniture and branches, never modify the unit or add parts, and don't interfere with the screen while it's moving.
Prefer it installed for you? Our crew installs motorized patio screens across Greater Houston — see the product page or get a quote.
Related reading: Zip-Track vs Manual Patio Screens: A Houston Guide
Want it professionally installed?
Send your opening size and a photo — we will confirm scope and lead time.